A reliable plumbing system can be the difference between your van feeling ready for a camping trip, and being a true home on wheels. Unfortunately, many van build decisions are fuelled by the notion of compromise; the design of your plumbing setup will be no different. Without the luxury of having a shower or hot water, you are simply looking for a basic water system that has the least risk of leaks. The more simple the fitting and fixtures; the easier the system will be to troubleshoot, fix and maintain. The straightforward water system discussed in this guide could be your solution to a stress-free van life… That’s if your compromises align.
Don’t have time to read this now? Pin this blog for later.
What to Consider
Simply said, a basic water system for van life consists of the following components; a freshwater container, water pump, tap, and a wastewater container. All other additional components are not essential, but they would serve a purpose that is highly recommended for the quality and longevity of your setup.
Water Refill Hoses & Adaptors
Knowing where the next water refill point will be is as unpredictable as knowing what type of tap you’ll be refilling from. Often, you can find water to refill your containers in petrol stations, campsites, natural sources, harbours, or someone’s house. That being the case, it’s advised that you show up prepared with any hose and adaptor you may need.
In my experience with the combination of these two products, I’ve been able to refill my water containers from most taps:
Alternatively, you may want to consider buying a food-safe hose if you plan to consume water from this system.
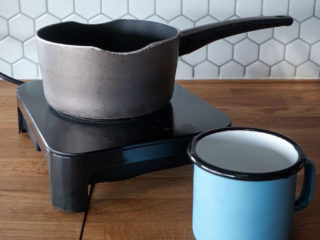
Fresh & Waste Water Containers
You will need two water tanks in your campervan; for fresh water and wastewater. The number of options for water containers is endless. Nonetheless, a very popular choice is to fit a permanent tank for each (whether it be inside or beneath the vehicle).
In the interest of simplicity, this installation guide will focus entirely on removable, interior water containers. This is for a number of reasons:
- They can be removed to fill, or empty, at any point.
- The water is less likely to freeze.
- They are the least expensive solution.
- The setup is scalable.
- The installation is simple.
When selecting your fresh water container, ensure that it’s food grade so that it’s safer to drink from. You may also want to have two containers side-by-side if you want to double the capacity. If so, it would then just be a case of switching the pipework over to the next when water levels are low.
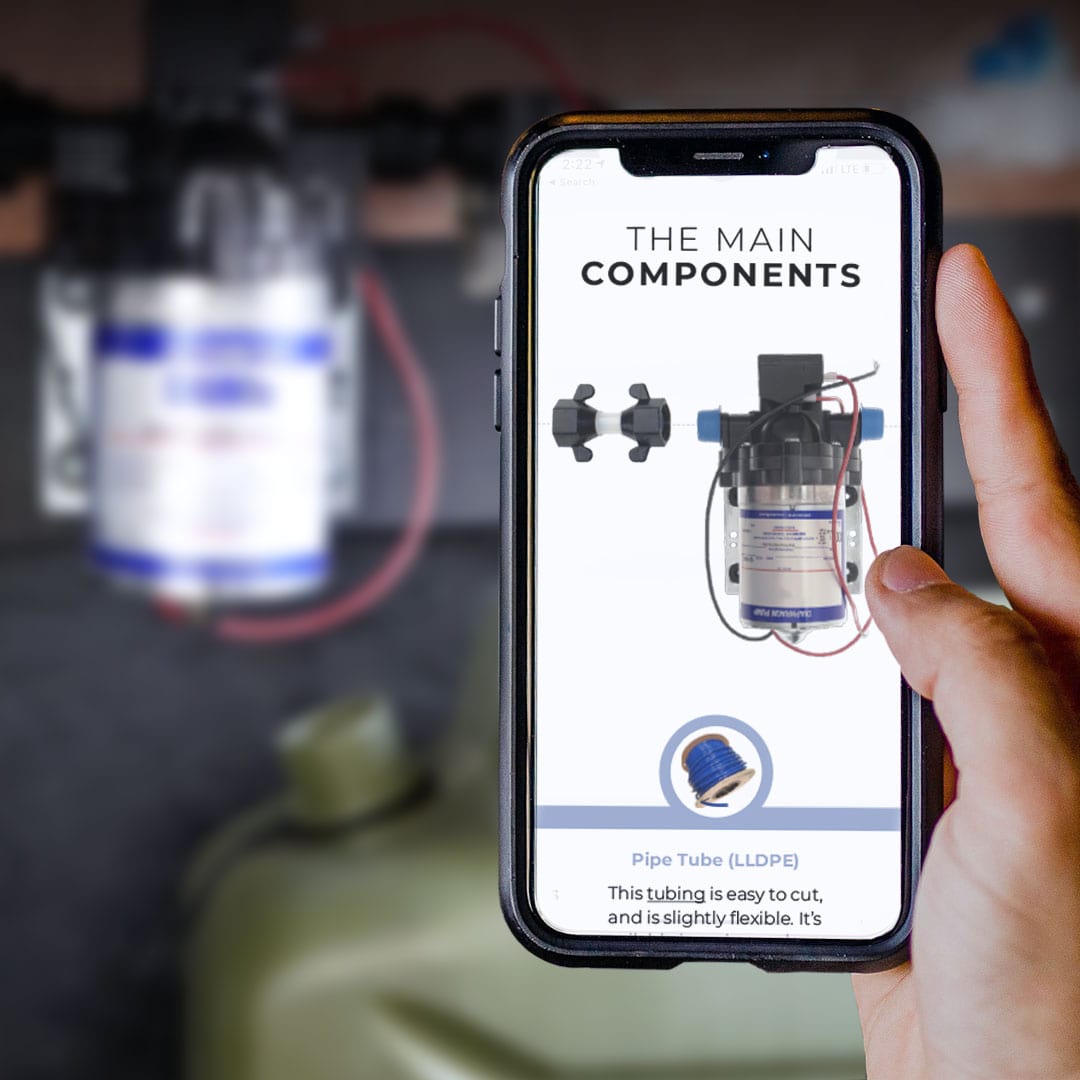
Main Components
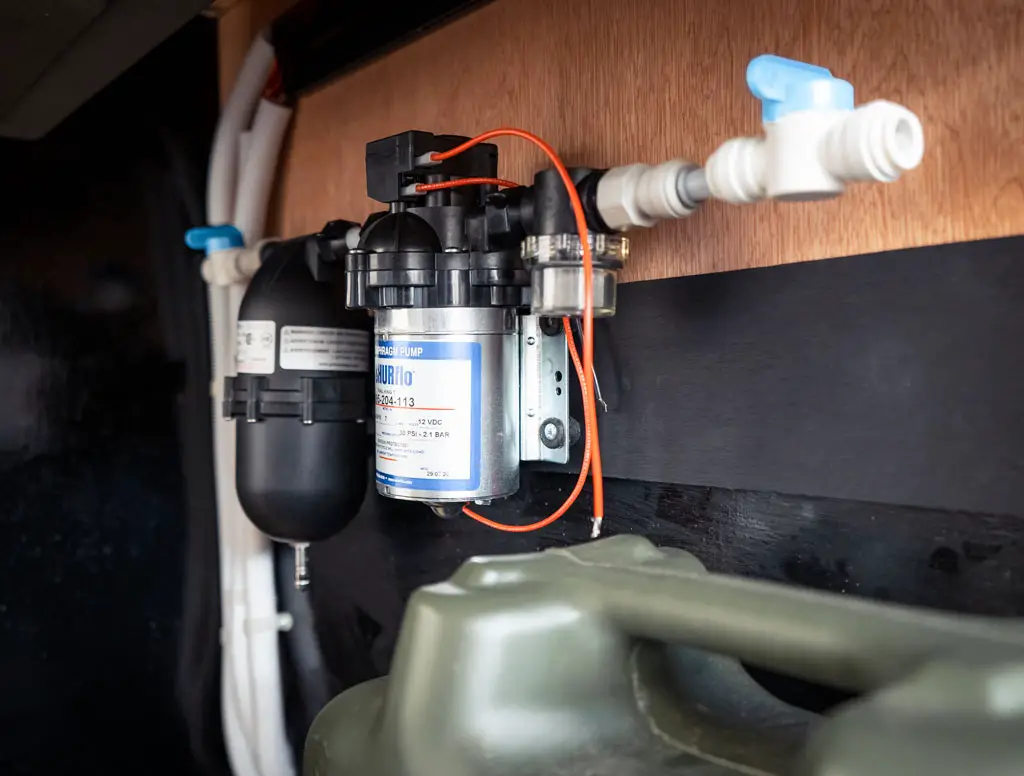
Water Pump
A suitable campervan water pump is necessary to move the water throughout your entire system. This can be done via a manual or electric pump.
The manual pumps can be operated with your hand or foot. Both types are very cheap and easy to install, especially if you’d prefer not to connect your plumbing to a 12V fuse board.
The obvious disadvantage to a manual pump is the hard work that they entail post-installation. Having to constantly pump your water manually can easily take the homeliness away from your home on wheels. That being the case, the Shurflo Water Pump has been featured in this specific water system as it is far more common.
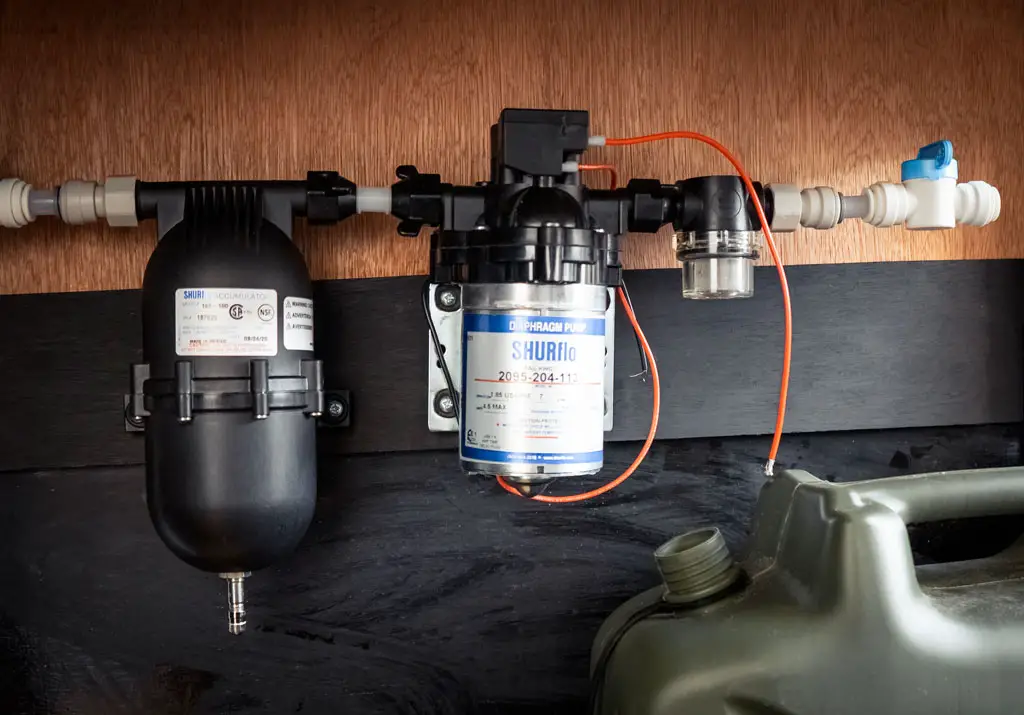
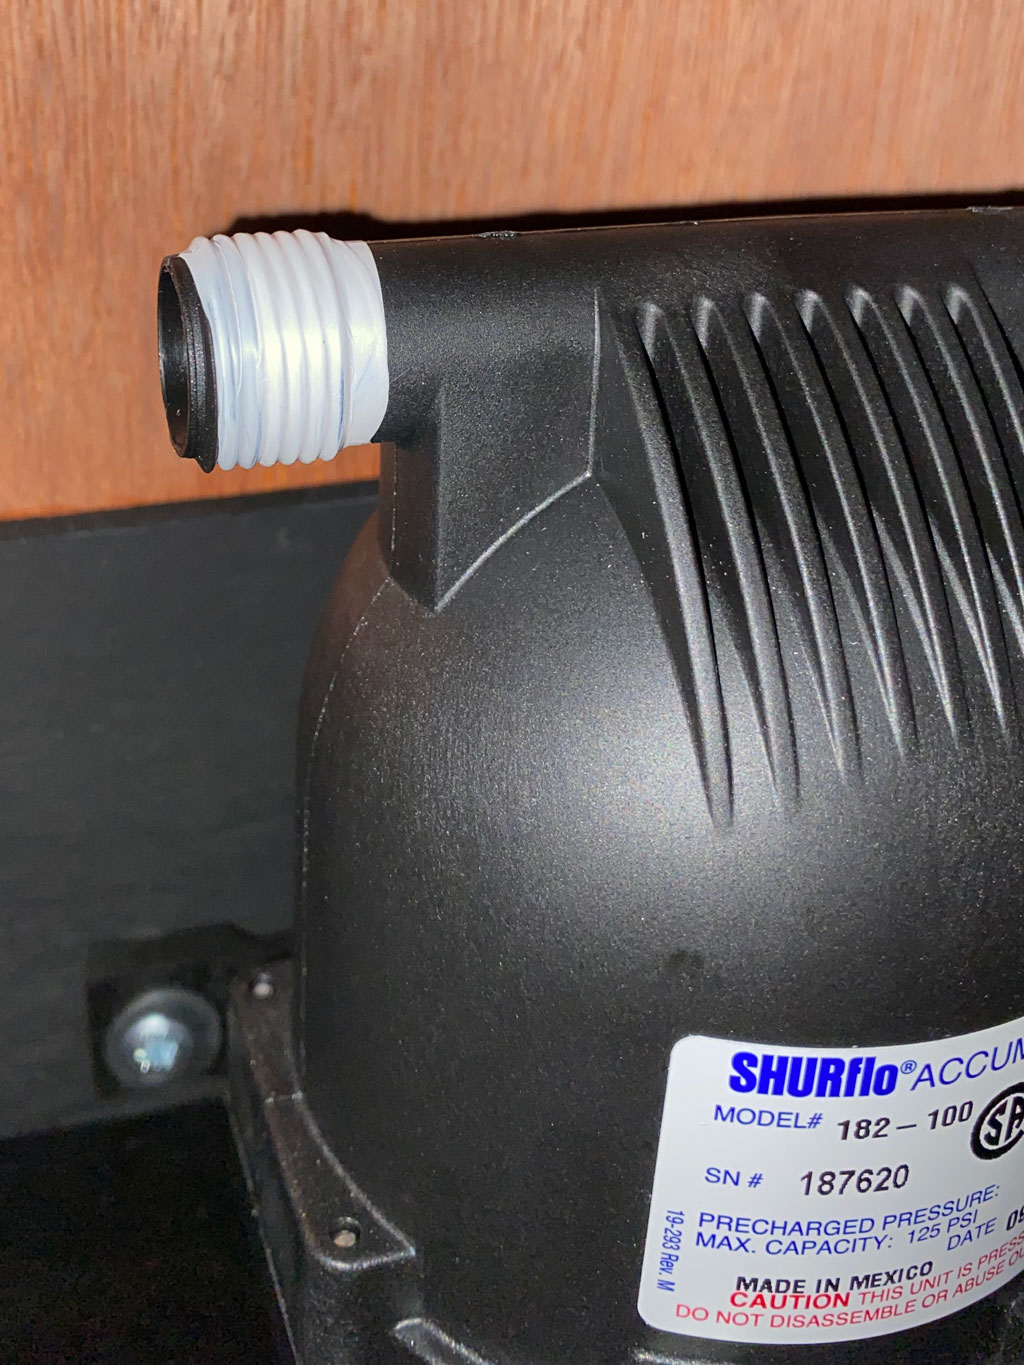
Accumulator
The Shurflo Accumulator is a vessel that stores pressure. A water pump will begin pumping when there is a drop in pressure (for instance, when the tap is turned on). The Accumulator smoothes the movement, reducing any pulsating that would occur as the pump stops and starts, converting this into a consistent flow. Accumulators are an optional component, however, they are popular, super easy to install and extend the lifespan of your water pump.
Sink Basin
When it’s time for you to select a sink for your van conversion, there are quite a few considerations that should be made beforehand:
- Dimensions: The space you have available in the van may require a more compact form. On the other hand, you may ought to have the largest sink possible if you reckon you’ll need the space for a hair wash, laundry, or an even bigger pile of dirty dishes! Also, don’t forget to bare the worktop’s width in mind… You’ll want to make sure that you have ample space between the sink and wall for a tap and enough of the worktop wood to support the weight.
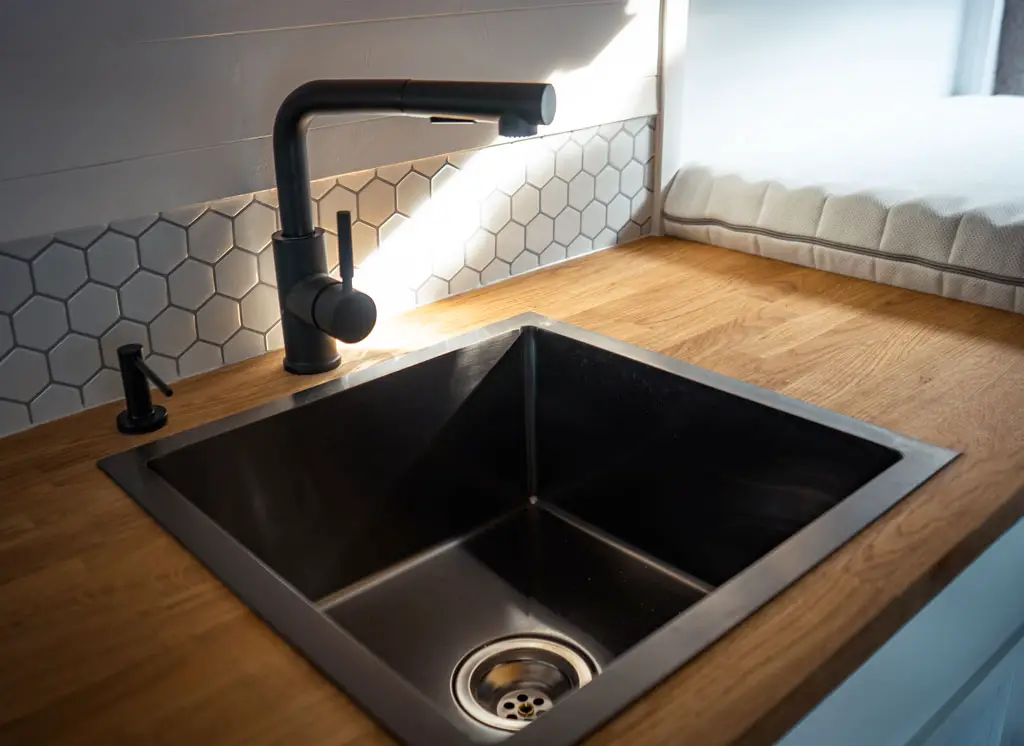
- Undermount or Inset: Sinks can be mounted to the worktop in two different ways. Some kitchen sinks can be installed beneath the worktop for a flush finish; whilst others are inserted through a pre-cut section from above. The latter is the most common, and easiest method of installation. This is called ‘inset’ (pictured below).
- Material: Sinks can be stainless steel, composite or ceramic. Ceramic is the most durable, but the heaviest. Stainless steel sinks are the cheapest, and most common.
- Weight: If you are conscious of the weight of your van (which you should be), then the size and material will be a factor that will deserve some attention.
- Overflow: The extra hole at the top of your sink basin is an overflow. This is an airhole that helps the basin of water drain faster, and also provides a secondary route for water to disperse. Overflows are not common in campervan sinks because van lifers tend to be prudent with the amount of water they use. Having an overflow will also add another step, and more pipework, to the installation of your van’s water system.
Sink Tap (Faucet)
Picking the design of your tap is probably going to be the ‘fun bit’. In my opinion, those with an extendable head are the most versatile for van life. They can be used for washing hair, laundry, extending outside, or just simply to give the basin a good rinse.
Standard household mixer taps are suitable for van conversions. This kitchen tap is a good example. All of the fixtures, fittings and hoses are included.
One consideration to make on taps with extendable heads is that they have a hose attached to a weight that hangs below. This keeps the head in position when it’s not retracted. Therefore, the area directly below the tap should be kept clear from major components to allow a clear passage for the weight to be lifted up and down. You could also add a foam pad to reduce the noise of the weight banging against the wall when the vehicle is in motion.
Soap Dispenser
Having a soap dispenser might sound like an excessive luxury at first, but this addition is more practical than you might think! Picture this… You’re packing up the van; putting everything in its place before you head off to your next destination. Whilst focusing on the road ahead from the driver’s seat, you hear a clatter. It was your liquid soap. It has smashed and leaked across your entire flooring…
What if you could give yourself one less thing to worry about?
For the ultimate convenience, install a soap dispenser directly into your kitchen worktop. They can be refilled time and time again with Fairy Liquid, or better still, organic multi-purpose soap for clothes, dishes, your body and face.
RELATED: The Best Van Life Internet Setup (Campervan Wifi)
Installing a Water System
Piecing together a water system isn’t as complicated as wiring your electrical setup; you can start with any section and work backwards or forwards. You’ll find this part more fun if you are replicating an easy-to-follow plumbing diagram.
Placing & Securing Your Water Tanks
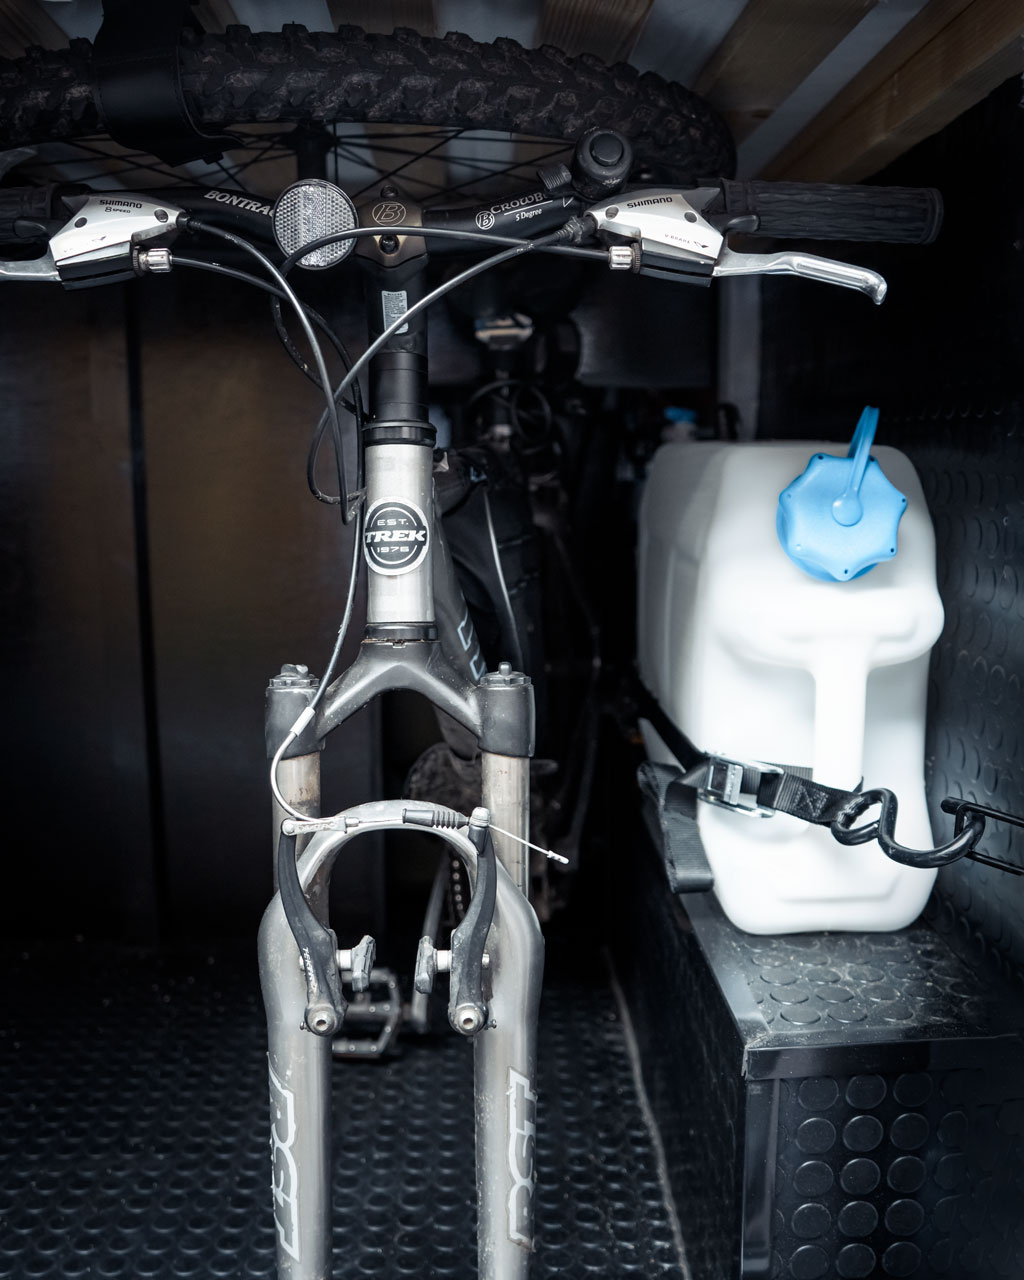
Have you considered the weight distribution of your van? It would be an idea to have the water containers on the opposite side of your batteries as they are probably the other heavier items in your van build. This would keep the weight of your more even on both sides. Another reason for this positioning would be for safety; in the unlikely event that you have a leak the water is far enough away from your active electrical system.
The water containers will also need to be fixed to avoid movement whilst the van is on the move. There are plenty of removable securing straps on the market. For example, you could use tie-down straps looped through “D” ring anchors.
It would also be worth lining the edges of the surrounding floor with a bead of silicone. This would block any water from reaching your woodwork if a leak were to occur.
Planning the Pipework
Finding the order of your pipework and fittings can become a headache, especially if you are unsure of their compatibility with one another.
The John Guest Speedfit components are recommended for simple water systems for van life. As a collection, they provide a push-fit system that is designed for hot and cold water. It’s so simple to put together! The appropriate pipes can be inserted, then pushed, into fittings. To remove, hold the ring down at the opening and the pipe will release.
Do you need further guidance with specific fittings?.. Perhaps the sequence of components is still unknown to you?… Follow this Simple Van Conversion Plumbing Diagram. It can also be used to source the correct products for your setup.
How to Cut the Pipes
There are specialized tools for cutting the LLPDE flexible tubing. These pipe cutters provide a clean cut which will be less likely to cause a leak. On the other hand, for what it’s worth, a sharp pair of pruning shears may be sufficient for your simple water system. This garden tool, or something similar, will save you extra money on a tool you may only need to make several cuts with.
Using PTFE Tape
PTFE tape is also known as “Thread Seal Tape” and “Plumber’s Tape”. It is sold in various widths and thicknesses, at a small cost. In short, the tape helps to minimise leakage within certain types of joints. That being the case, it’s optional, but recommended that PTFE tape is wrapped around any threaded joints to tighten and seal. For example, it should be used on the accumulator, water pump, filter and sink tap connections.
Dry Fit the Water System
The Shurflo components will have an arrow indicating which direction the water should flow. This will determine the position of the main parts of your system. The stop taps, filter, water pump and accumulator can be pieced together before reaching the van. This will allow you to gauge how much space the system will spread across.
Mounting the Main Components
The main Shurflo components (the accumulator and water pump) have mounting holes provided on their casing. The majority of the system will rely on this fixture to be strong, especially considering the weight of the water pump. So, make sure the surface you are fixing the system onto is strong and thick enough for long screws.
In addition, talon hinged pipe clips can be used to hold the pipes in place. This will prevent any unnecessary rattling or knocking when the vehicle is moving.
If you have any electrical wiring in the same area, it should be above the water system and hidden in conduit or trunking.
Troubleshooting: Campervan Plumbing Leaks
I am extremely happy with my plumbing setup. However, it hasn’t always been a strong setup. There was once a time that it had been described as an irrigation system instead. Don’t worry if your water system does not work the first time. Instead, work your way through the list below to ensure it has been set up correctly.
- This may seem obvious, but are your stop taps open?
- The John Guest connections really do need a strong push to fit. It may feel like the joint has been connected at first, but have someone else try to push them in further to double-check.
- Use tube inserts at the end of each pipe.
- If the water pump is playing up, unscrew the casing screws to observe what is happening inside.
- Add water to the system from the water filter to start the movement.
Simple Water System for Van Life
Purchase this simple plumbing diagram for more specific information on each and every component and fitting…
Van Conversion Plumbing Diagram
This ready-planned basic water system will save you many valuable hours of research! The plumbing setup is so simple to put together, and even more simple to source the parts for.
Ready to install? This guide outlines how much a van conversion costs. From there, you’ll gain a rough idea of how much a similar simple water system for van life will total.
Let’s go!
@katie.maree
Would you like to keep this guide somewhere safe? Pin the images below.


3 comments